Astro on Cloudflare Fully Automated Part 2
Overview
This is a follow-on from my previous post about how to deploy an Astro site onto Cloudflare Pages. Last time I covered some basic principles relating to static, client-side and server-side rendered sites. I then gave a quick walkthrough of the process involved in setting up a static-only Astro site on Cloudflare Pages.
Although most pages from most sites could quite easily exist as static, if you want to include a form that gets emailed upon submission or serve any sort of dynamic content then you need to include some capacity for your site to process these requests. Luckily, there is a Cloudflare adapter for Astro that opens up Cloudflare Workers functionality and Edge processing capabilities, allowing you to create API endpoints that can be processed by Cloudflare’s Workers. This example walks through the processing of an Astro form via Cloudflare Workers for a site hosted on Cloudflare Pages.
Here’s a quick breakdown of the steps involved:
- Add the Cloudflare adapter to Astro
- Install and configure Cloudflare Wrangler
- Create a form for processing
- Set up an MTA/transactional email provider
- Create an API endpoint to process your form
Cloudflare adapter
The Cloudflare adapter for Astro provides a set of bindings that allow for easy deployment to Cloudflare Pages using serverless functions. As we need our site to do more than just serve HTML, we need to make sure that Cloudflare is configured correctly.
First off, add the Cloudflare adapter to your project:
bun add @astrojs/cloudflareNext, we’ll configure Astro’s config file to use the Cloudflare adapter:
import { defineConfig, envField } from 'astro/config'
import cloudflare from '@astrojs/cloudflare';
import dotenv from 'dotenv';
dotenv.config();
export default defineConfig({
env: {
schema: {
SITE_URL: envField.string({ context: "client", access: "public", optional: true}),
}
},
vite: {
ssr: {
noExternal: ['dotenv', '@astrojs/cloudflare'],
target: 'webworker',
external: ['path','fs','url','module','crypto','os','child_process','util','net'],
},
resolve: {
alias: {
'@': '/src',
}
},
},
site: process.env.SITE_URL,
output: 'static',
adapter: cloudflare({
mode: 'directory',
platformProxy: {
enabled: true,
configPath: './wrangler.toml'
}
})
})There are several parts to make note of:
- Make sure you include an import statement for
@astrojs/cloudflare - In your Vite config, create an ‘ssr’ section with the displayed values. This section tells Vite that we want to use an external provider for the listed Node commands.
- Leave your site with
output: 'static'. If you Cloudflare refuses to play ball, you need to upgrade the adapter to the most recent version. It’s worth noting that Astro deprecatedoutput: 'hybrid'with v5. Now, all pages will be rendered as static unless stated otherwise on the page itself. mode: 'directory'tells Cloudflare to use the simple configuration. By default it uses the ‘advanced’ setting.platformProxyis the section that confirms our intention to have Cloudflare execute processes at the edge. Nested under theplatformProxyis the config file for Wrangler.
Wrangler
Wrangler is a CLI tool from Cloudflare that helps development with and deployment of Cloudflare Workers. As we’re going to be adding an API endpoint to handle form processing to our otherwise static site, we need to include some rudimentary configs for Wrangler. Wrangler will ensure that our serverless functions (ie. the API endpoint we’ll be creating) are executed by an appropriate ‘Worker’.
Let’s start by installing Wrangler:
pamac install wrangler
pacman -S wrangler
apt install wrangler -yI prefer to use my system’s package manager but Cloudflare’s documentation suggests installing the binaries on a per-project basis:
bun add -D wranglerIn the last step we set the location of Wrangler’s config file in astro.config.mjs. Let’s go ahead and create the associated config file and add the necessary configurations to it.
#:schema node_modules/wrangler/config-schema.json
name = "my-project"
compatibility_date = "2024-12-24"
compatibility_flags = ["nodejs_compat"]
main = "./dist/_worker.js/index.js"
assets = { directory = "./dist", binding = "ASSETS" }
[observability]
enabled = trueAnd add types to tsconfig.json:
{
"extends": "astro/tsconfigs/strict",
"include": [".astro/types.d.ts", "**/*"],
"exclude": ["dist"],
"compilerOptions": {
"strictNullChecks": true,
"types": [
"@cloudflare/workers-types/2023-07-01"
]
}
}You can authenticate via CLI with the following command. If running in a local development environment it will spin up a browser for oAuth authentication via Cloudflare’s website.
bun run wrangler loginGenerate your Wrangler types using the following command:
bun run cf-typegenor
bun run wrangler typesTo save time, you might want to add this as a build step in your package.json.
Wrangler will look in .dev.vars by for its environment variables and secrets when running a development environment locally. You will need to create your environment variables in Cloudflare Pages (either via dashboard or using the API. The former is probably easiest).
Create a Form
This needn’t be anything fancy:
<form id="contact-form">
<input type="email" name="email" required placeholder="bob@bobsgiraffes.com" />
<label for="message">Your Message</label>
<textarea id="message" name="message" required rows="4" placeholder="Type your message here..." />
<button type="submit">Send Message</button>
</form>Append a simple script to pass the JSON data to our soon to be form processing API endpoint:
const form = document.getElementById('contact-form') as HTMLFormElement;
form.addEventListener('submit', async (e) => {
e.preventDefault();
const formData = new FormData(form);
const email = formData.get('email');
const message = formData.get('message');
try {
const response = await fetch('/api/send-email', {
method: 'POST',
headers: {
'Content-Type': 'application/json',
},
body: JSON.stringify({
name: email,
email,
message
}),
});
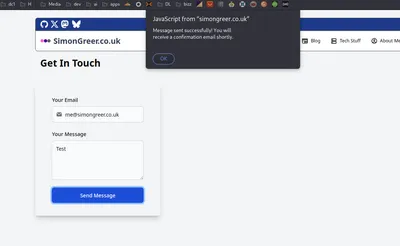
if (response.ok) {
alert('Message sent successfully! You will receive a confirmation email shortly.');
form.reset();
} else {
alert('Failed to send message. Please try again.');
}
} catch (error) {
alert('An error occurred. Please try again later.');
}
});Set Up an MTA
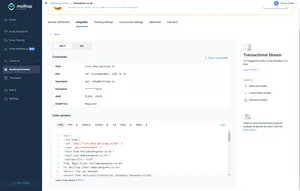
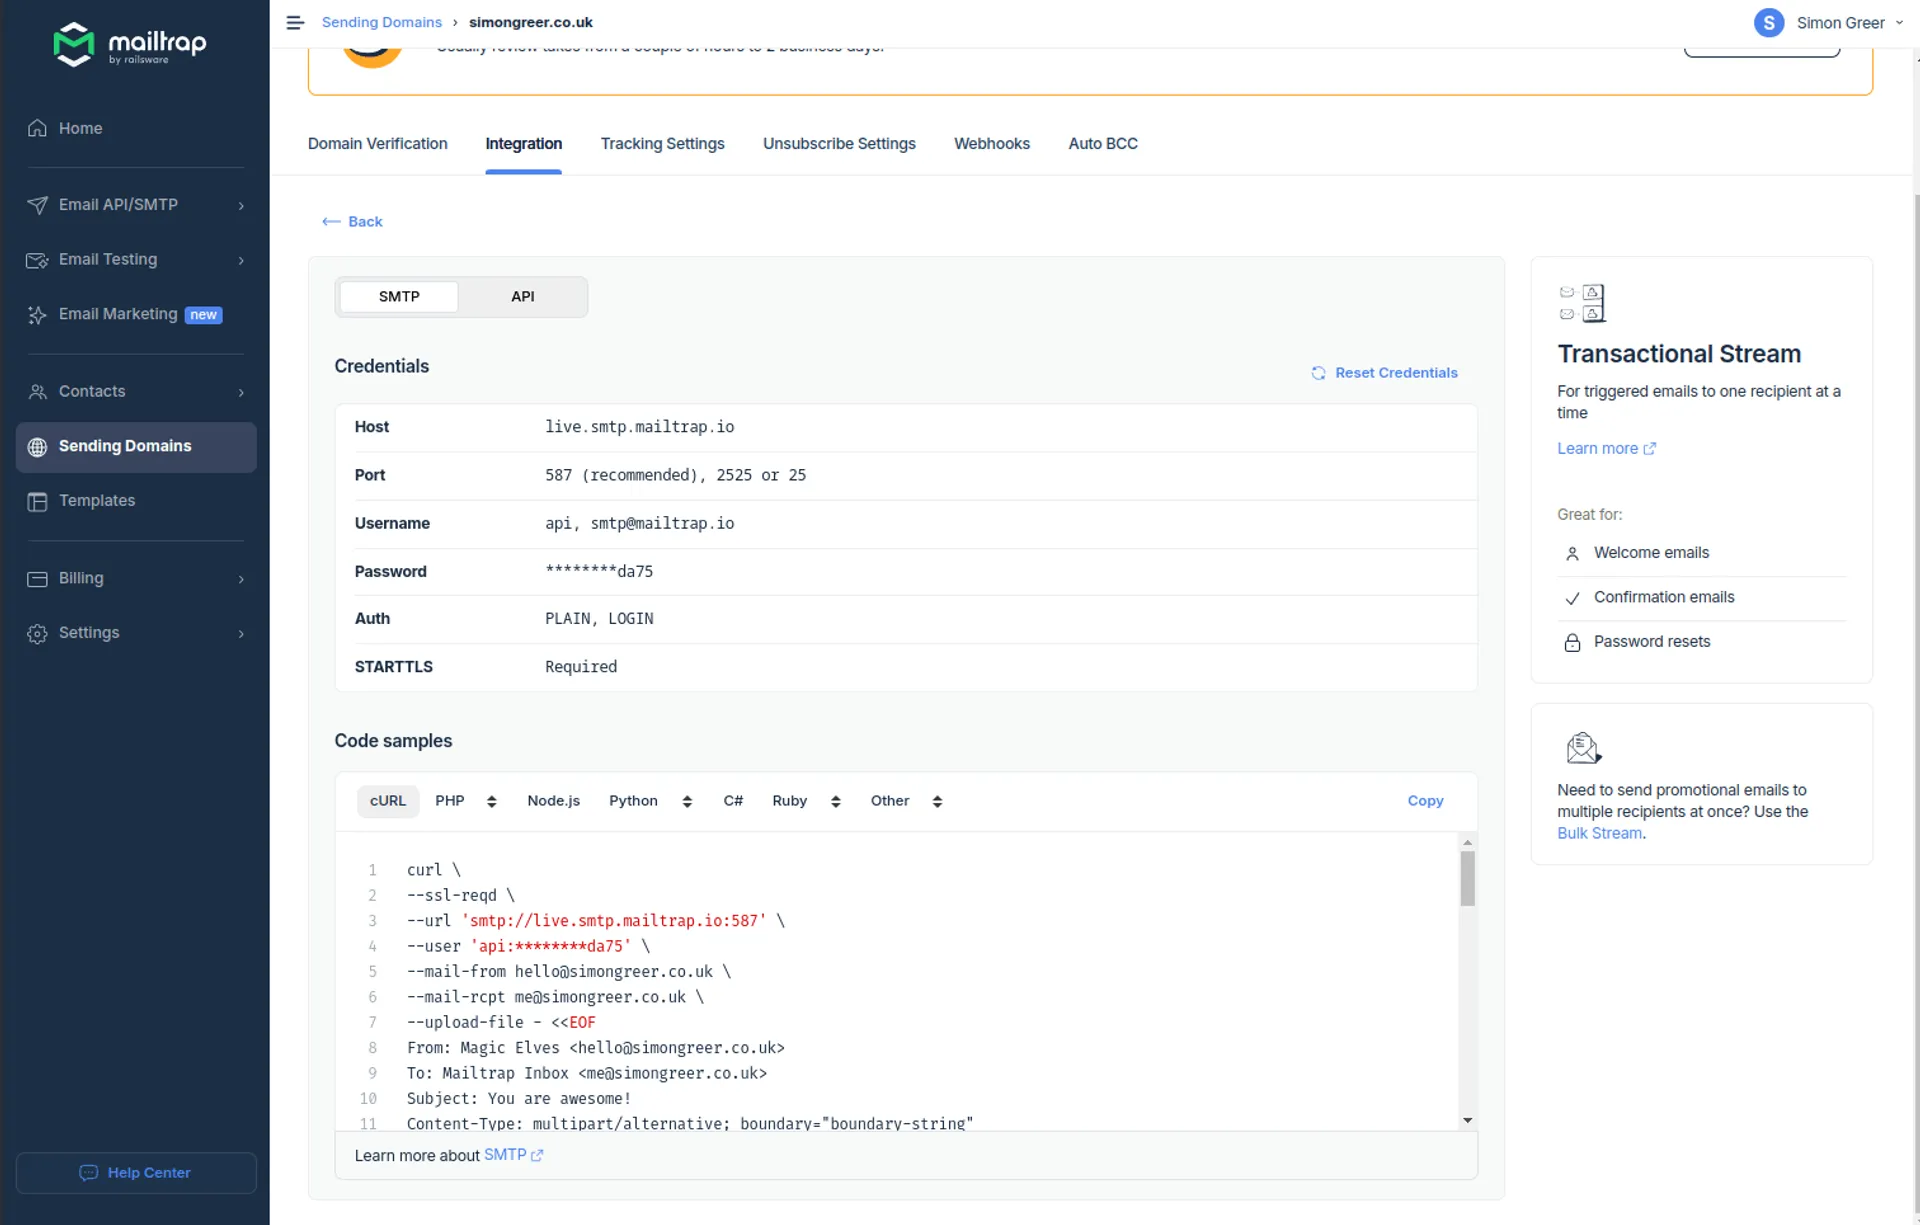
It’s of course possible to use a standard SMTP-enabled mail server, but using a transactional email provider is inexpensive and removes all of the pain that comes with sending transactional emails. (mailtrap.io is my preferred option), but there are thousands out there.
Create API Endpoint
In your Astro pages directory in Astro, create a new route for ‘api’ by making a new dir, and in that dir create a Typescript file with a suitable name and the following code:
export const prerender = false;
import type { APIRoute } from 'astro';
export const POST: APIRoute = async ({ request, locals }) => {
// @ts-ignore
const runtime = locals.runtime;
const formData = await request.json();
const { name, email, message } = formData as { name: string; email: string; message: string };
const emailData = {
from: {
email: runtime.env.MAILTRAP_FROM_EMAIL,
name: "My Project's MailBot",
},
to: [
{
email: runtime.env.MAILTRAP_TO_EMAIL,
name: "Form Submission Recipient",
},
],
subject: "New Contact Form Submission",
text: `Name: ${name}\nEmail: ${email}\nMessage: ${message}`,
};
try {
const response = await fetch("https://send.api.mailtrap.io/api/send", {
method: "POST",
headers: {
"Content-Type": "application/json",
"Authorization": `Bearer ${await runtime.env.MAILTRAP_API_KEY}`,
},
body: JSON.stringify(emailData),
});
if (!response.ok) {
const error = await response.json();
return new Response(JSON.stringify({ error }), {
status: response.status,
headers: { 'Content-Type': 'application/json' }
});
}
return new Response(JSON.stringify({ message: "Email sent successfully" }), {
status: 200,
headers: { 'Content-Type': 'application/json' }
});
} catch (error) {
console.error("Unexpected error:", error);
return new Response(JSON.stringify({ error: "Server error" }), {
status: 500,
headers: { 'Content-Type': 'application/json' }
});
}
}Note the prerender = false statement at the beginning of the file. This tells Astro not to build this page at build time as static, and instead run from the server as and when it’s called.
The code expects a name, email address and message in JSON which it parses and sends to Mailtrap where it’s subsequently processed and sent to the recipient specified in the environment variables.
Test
Once done you should have a Cloudflare Worker deployed using Wrangler that will process submitted forms and pass them to the MTA in order to send an email to the specified email address.