
Astro on Cloudflare Fully Automated
Overview
Cloudflare Pages is a powerful platform for hosting static sites - edge caching, image manipulation, page rules and with some configuration, server-side rendering. If you’re an Astro user, you can automate the build and deployment process using Git workflow automation. If your site is pure static, you can configure everything in just a few clicks.
If you site includes server-side rendered pages it’s a bit more work to get things properly configured, but once set up it works flawlessly and the site’s performance is blisteringly fast.
In this post I cover the process for automating a static-only site using Github and Cloudflare Pages. Subsequent posts will expand to cover server-side rendered builds for form processing, automated notifications and automated post-build Pagespeed analysis.
Static, CSR and SSR
Static
Static pages are built at build-time and as the name suggests, are static files that don’t provide any iteractivity. Static content is lightning fast but not suited to content that changes. It’s a good idea to generate as many static pages as possible to improve performance and reduce overhead & complexity.
Server-Side Rendering
Each page is generated on the server on a per-request basis. This is most commonly used for sides that have dynamic content, such as ecommerce websites, sites where users log in, etc.
Client-Side Rendering
Pages are generated in the browser using Javascript and can be updated in real time. This would typically be used where data is live-updated. A page that displays the current exchange rate would be a half-decent example of a use case for CSR.
Which To Use?
Astro is geared towards content and in most cases the vast majority of pages can be generated ahead of time as static. However, most sites will often need to provide some degree of interactivity. One of the most common use cases is the processing of form data. If you want users to be able to fill in a contact form, as is the case for me on this site, you need to ensure that the form is able to send data and that data is processed accordingly.
For now, let’s leave that one, annoying page to the side and let’s concentrate on first getting a workflow to automatically build a static-only website and publish it on Cloudflare Pages using their free tier.
Static-Only automation
I’ll not cover creating an Astro site or initialising its Git repo. I’m assuming that a site already exists locally and is linked to a Github repo. With that in mind, you just have these steps to complete to get your site up and running on Cloudflare Pages:
- Create a Pages project on Cloudflare
- Authenticate Cloudflare’s access to Github
- Configure build preferences
- Push code to repo
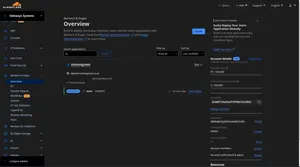
Create a Pages Project on Cloudflare
NOTE: Pages are configured at account level, not at domain or ‘website’ level. You’ll find the option in your account dashboard under the ‘Workers & Pages’ node.

Authenticate GitHub
Enter the repo details, click add and you’ll be whisked away to GitHub to authenticate Cloudflare via OAuth. Once complete, you’ll be automatically returned to the Cloudflare dashboard where you can select the repository you want to deploy from.
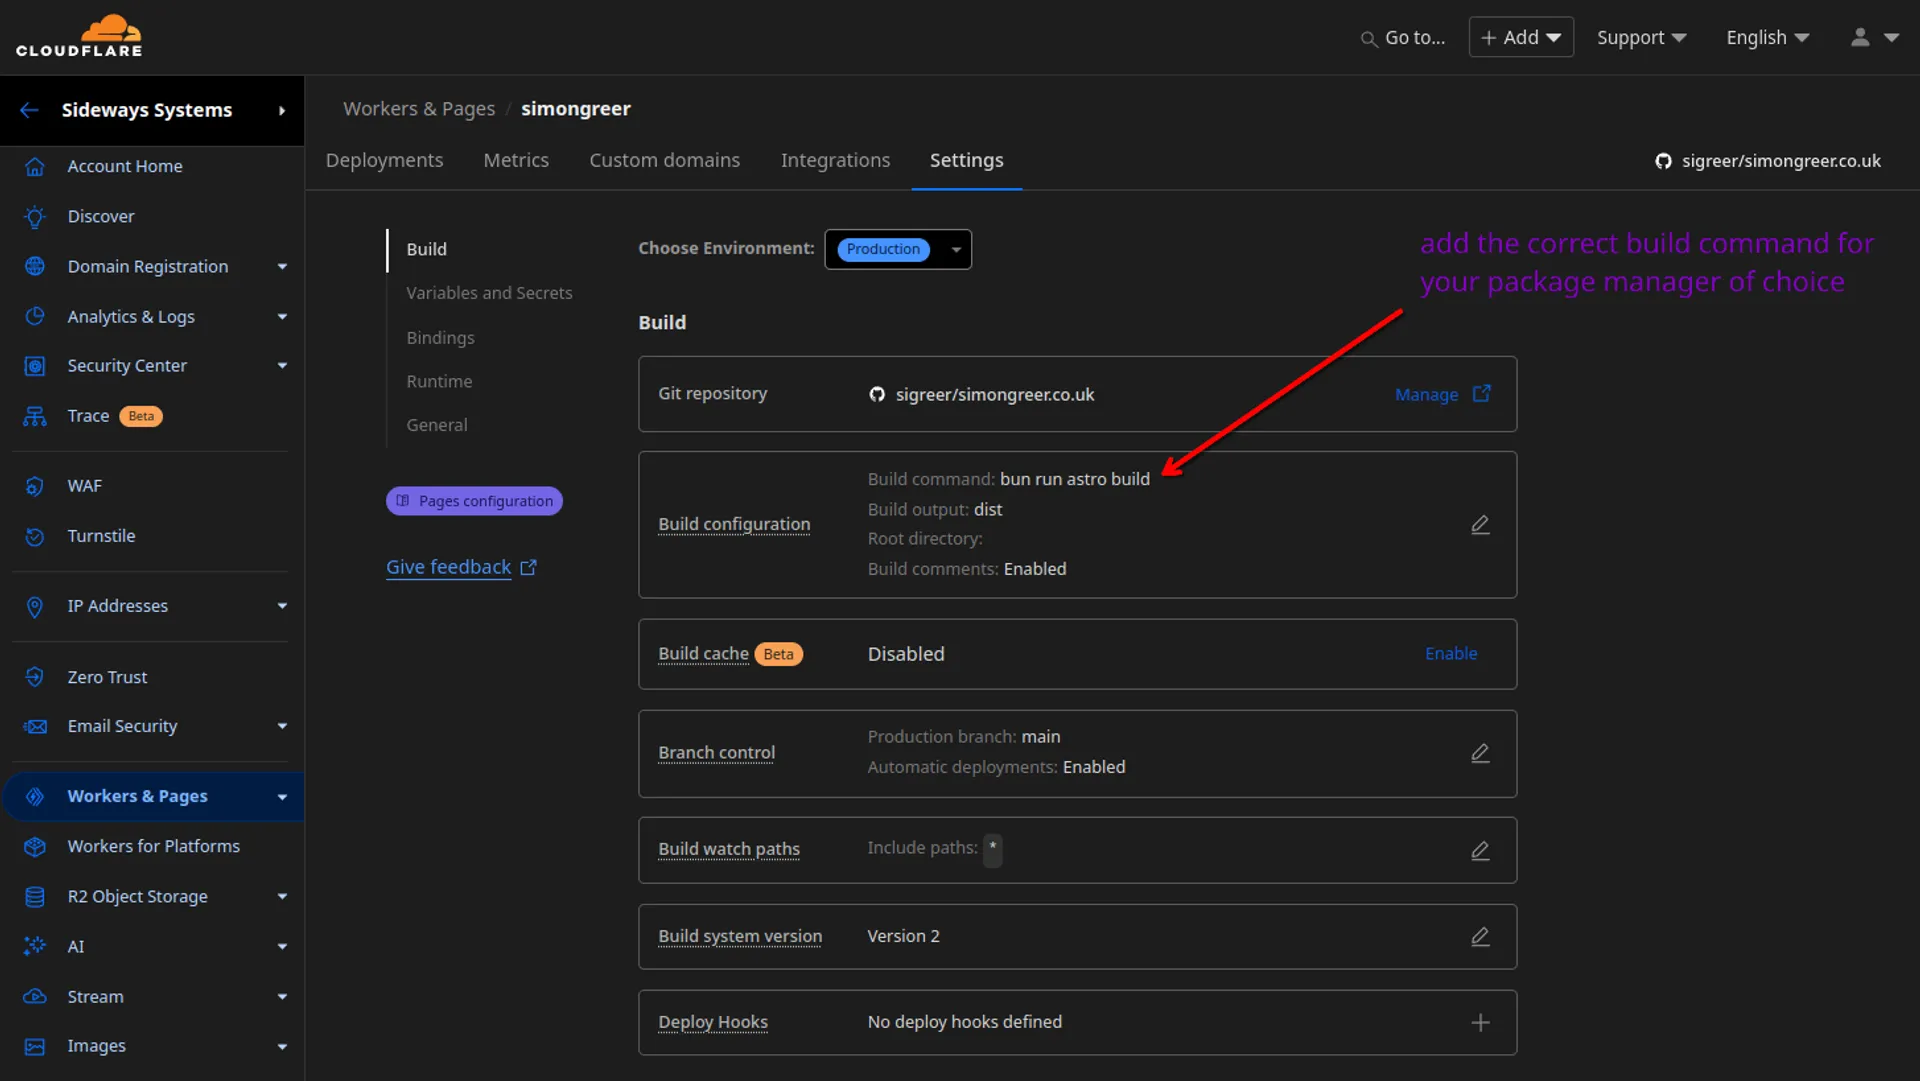
Configure Build Preferences
Set the build command. I use bun, so it’s a nice simple bun run build. Cloudflare includes a framework preset for Astro which just changes it to npm run build.

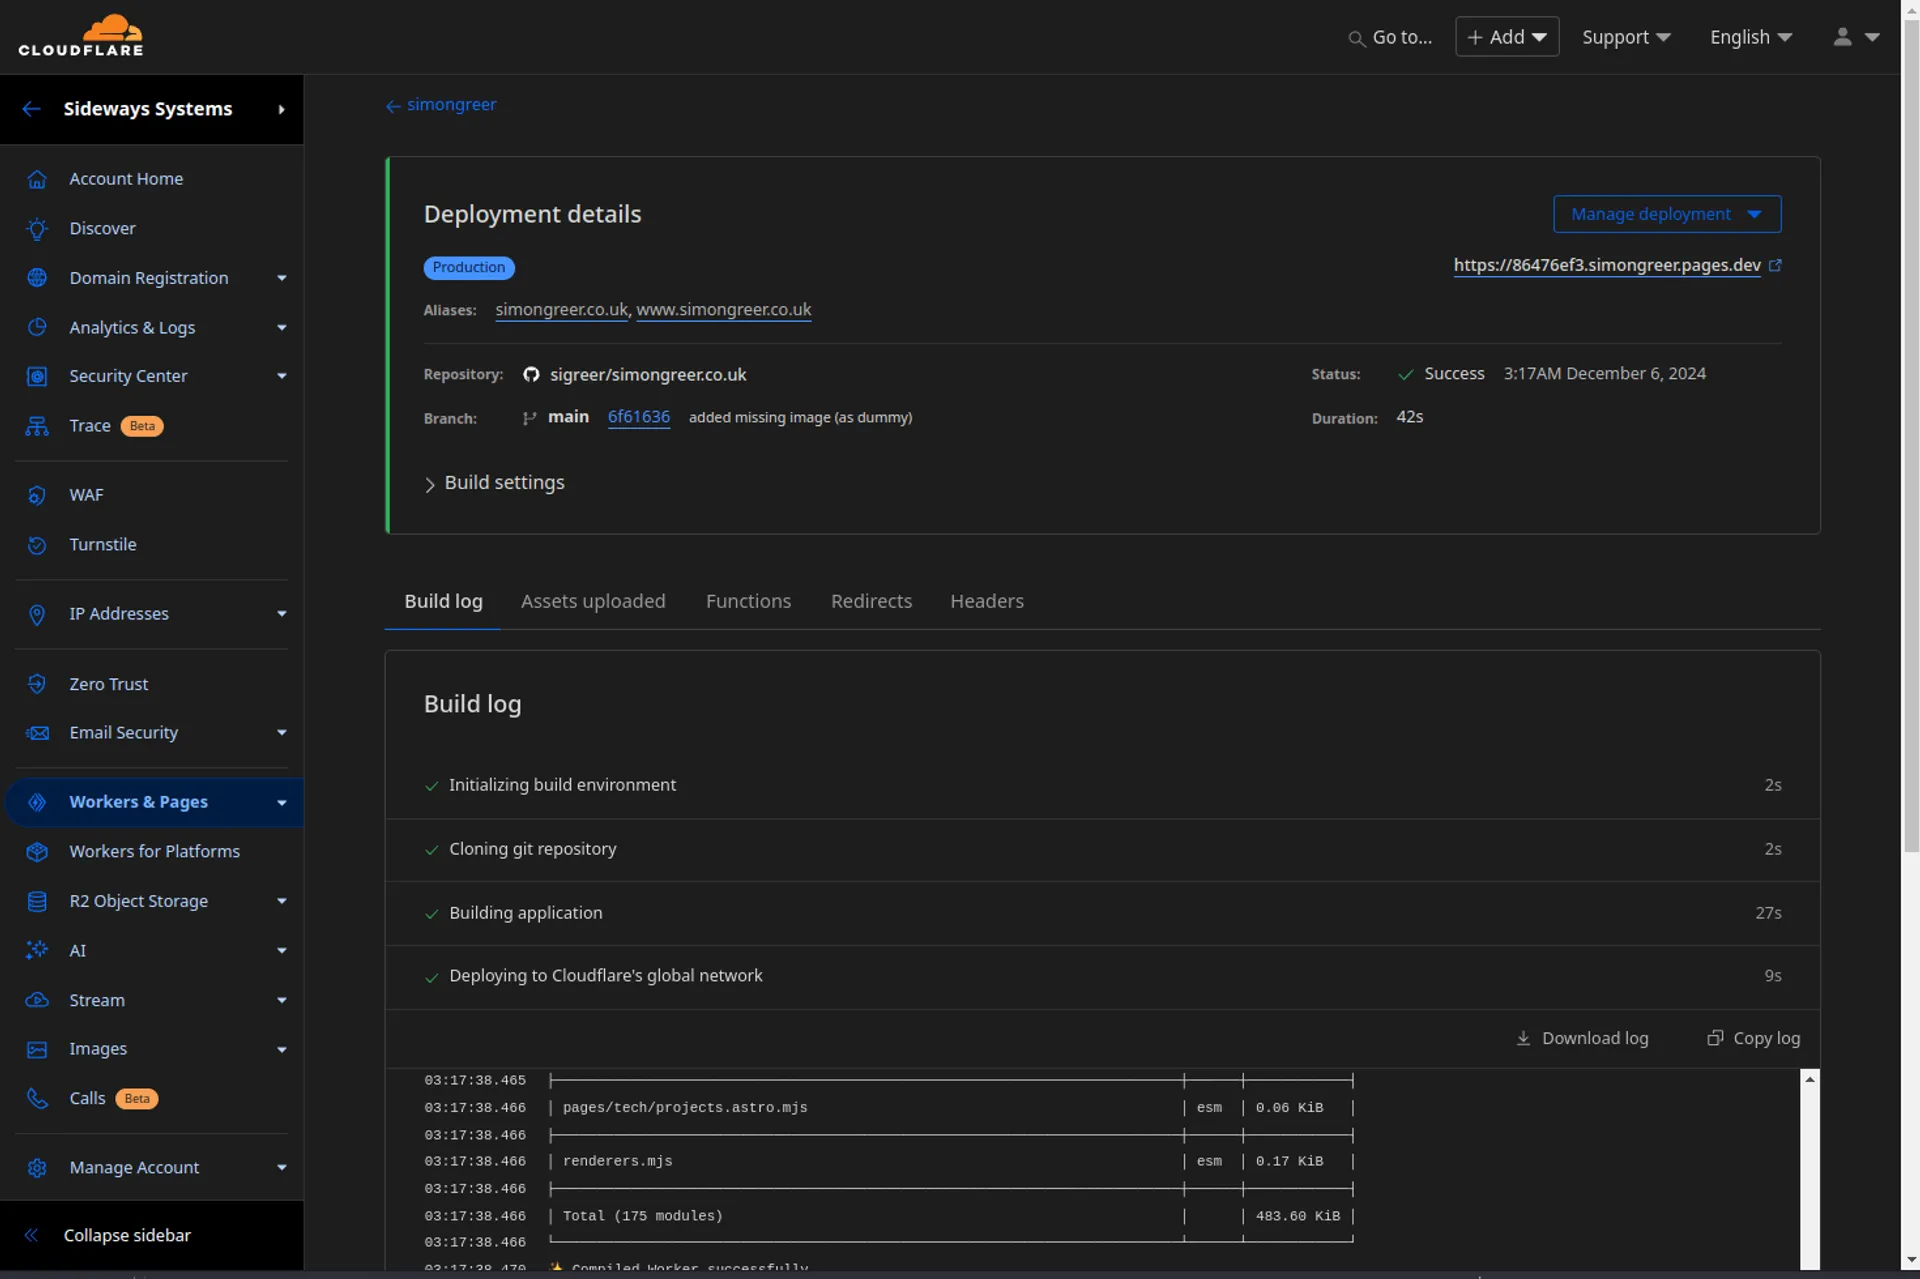
Push Code & Watch Build
When configured via the Cloudflare dashboard, the trigger is set up automatically. All that’s left to do is push the site to Github and observe the build process.
bun run astro sync --clear
bun run astro build
git add .
git commit -m "Deploy Astro site to Cloudflare Pages"
git push
That’s it! I’ll be posting about deploying Astro v5 to Cloudflare as static with a server-side rendered API endpoint for mail processing in the next part of this series of posts. Stay tuned!